I have a super sweet treat for you guys today (literally and figuratively!), Lexie is back again this month and she’s baked up the most darling (and equally as delicious) homemade Holiday Treat to share today! Red Velvet is my absolute FAVORITE and this cake in a jar is to die for! In this post, there’s also a really fun virtual cookie exchange between myself and some other fun bloggers! Thank you to Camila from Effortless Style for hosting, there are some yummy recipes!
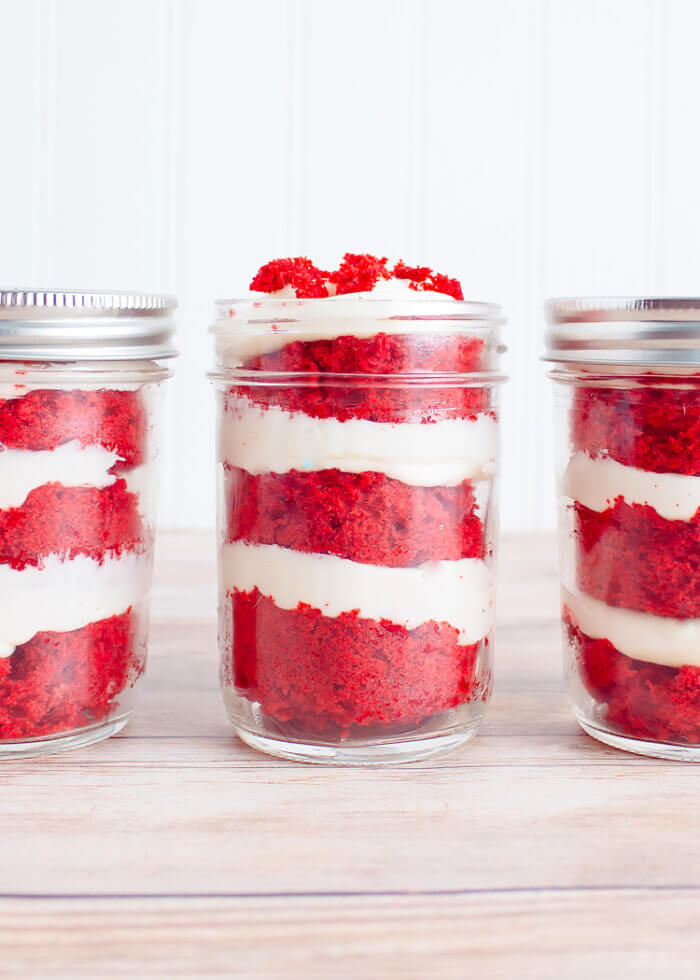
Hi again from A Slice of Sweet! Red velvet cake has a special place in my heart. My very first homemade layer cake was a red velvet cake from Ree Drummond’s cookbook. And the rest is history. I was in love with baking. Obsessed, actually!
I’ve always been intrigued by red velvet as a flavor… It’s chocolate-y, but definitely not chocolate. It’s light and fluffy like a white cake, yet bright red. What are you, red velvet?!
It really doesn’t matter though. Red velvet cake is perfect. It’s not only vibrant and beautiful, but the texture is a perfect balance between dense and fluffy. The hint of cocoa perfectly compliments the slightest tang of buttermilk. And paired with a classic cream cheese frosting… I. Can’t. Even.
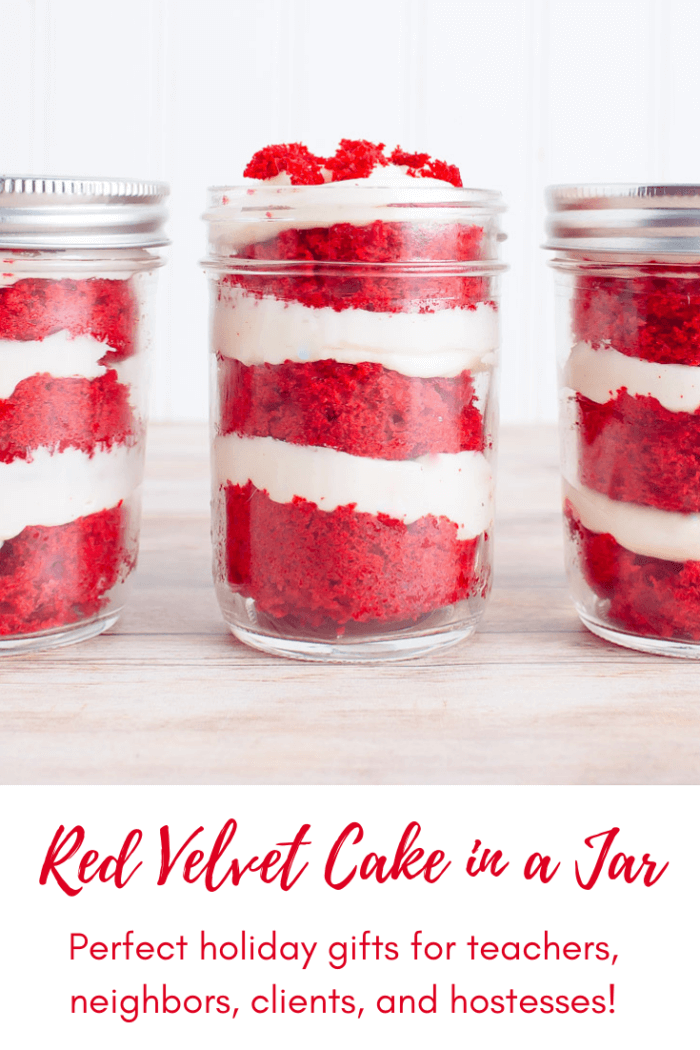
It’s also the PERFECT Christmas cake! So perfect that I think it should be easily shared with EVERYONE. So I’m making that happen today with Red Velvet Cake in a jar!
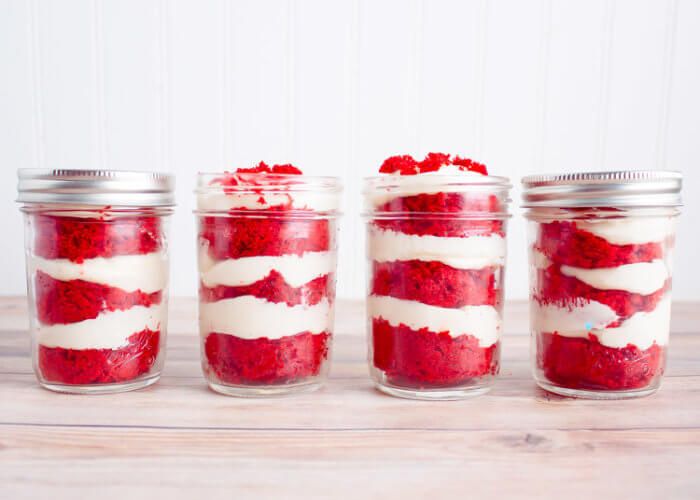
If you’re looking for the perfect hostess/teacher/neighbor/client gift (or you just want one all to yourself), THIS IS IT! Not only is the red velvet cake and cream cheese frosting melt-in-your-mouth delicious, but they are so darn easy and you can make 10 cakes from one recipe. Slap a cute gift tag or label and ribbon and BOOM, you just earned some major brownie (or cake!) points with your kid’s teacher.
The game-changer for this recipe is cake flour. I strongly suggest not subbing for all-purpose flour here. Cake flour has a much finer texture than all-purpose flour, and has a lower protein content… it’s what gives this cake the light and fluffy, bakery-style texture!
Red Velvet Sheet Cake (Adapted from The Pioneer Woman):
2 1/2 cups cake flour
1 teaspoon salt
1 cup buttermilk, room temperature
1 teaspoon vanilla extract
1 teaspoon baking soda
2 whole eggs, room temperature
1 1/2 teaspoons white vinegar
1 tablespoon unsweetened cocoa powder
1 1/2 fluid ounces (1 small bottle) red food liquid coloring
1/2 cup (1 stick) vegetable shortening (like Crisco)
1/2 cup (1 stick) unsalted butter, room temperature
1 3/4 cup sugar
Preheat the oven to 350 degrees F. Spray a large (18 x 12 inch) sheet cake pan (or use a slightly smaller jelly roll pan) with non-stick baking spray.
In a large bowl, sift together the cake flour, cocoa powder, and salt. Set aside.
In a separate bowl, whisk together the buttermilk, vanilla, baking soda, and eggs. Add the vinegar and red food coloring and stir. Set aside.
Using an electric mixer (I use the paddle attachment), beat the shortening and butter until combined, about 30 seconds. Add the sugar and beat on medium speed until fluffy (3 to 4 minutes).
With your mixer on low speed, alternate adding the flour mixture and the buttermilk/egg mixture until just combined. Do not over mix.
Pour the batter into the prepared sheet cake pan. Use a large offset spatula or knife to even out the surface. Bake for about 20 minutes.
Remove from oven and let cool completely before cutting.
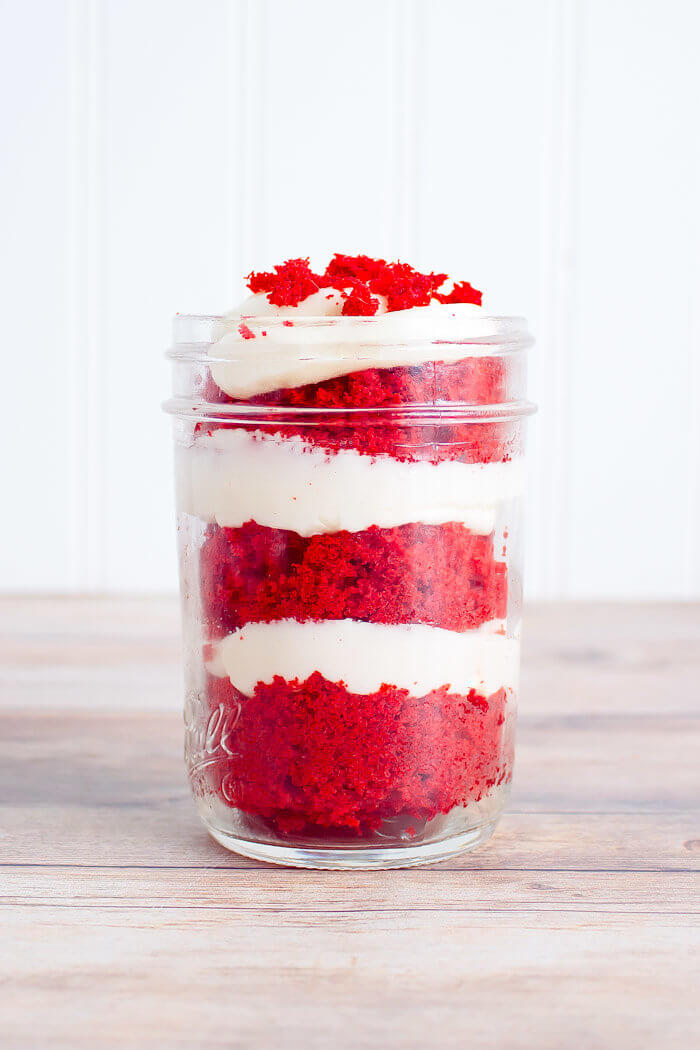
Cream Cheese Frosting:
8 ounces cream cheese (softened)
1 cup (2 sticks) salted butter (softened)
4 cups powdered sugar
1 teaspoon vanilla extract
½ teaspoon lemon juice
Using a mixer (I use the paddle attachment), beat butter on medium speed until creamy, about one minute.
Add the cream cheese, vanilla, and lemon juice. Beat on medium speed until light and fluffy, about 2-3 minutes.
Gradually add the powdered sugar, beating on low speed, until combined.
Beat on medium-high for 1-2 minutes.
Assembling the Cakes in Jars:
10 8 oz. mason jars
Large pastry or ziploc bag
Ribbon
Gift tag or label
Add cream cheese frosting to a pastry or ziploc bag and cut off a small corner (about ½ inch to 1 inch) so that you can easily pipe the frosting into the mason jar. Set aside.
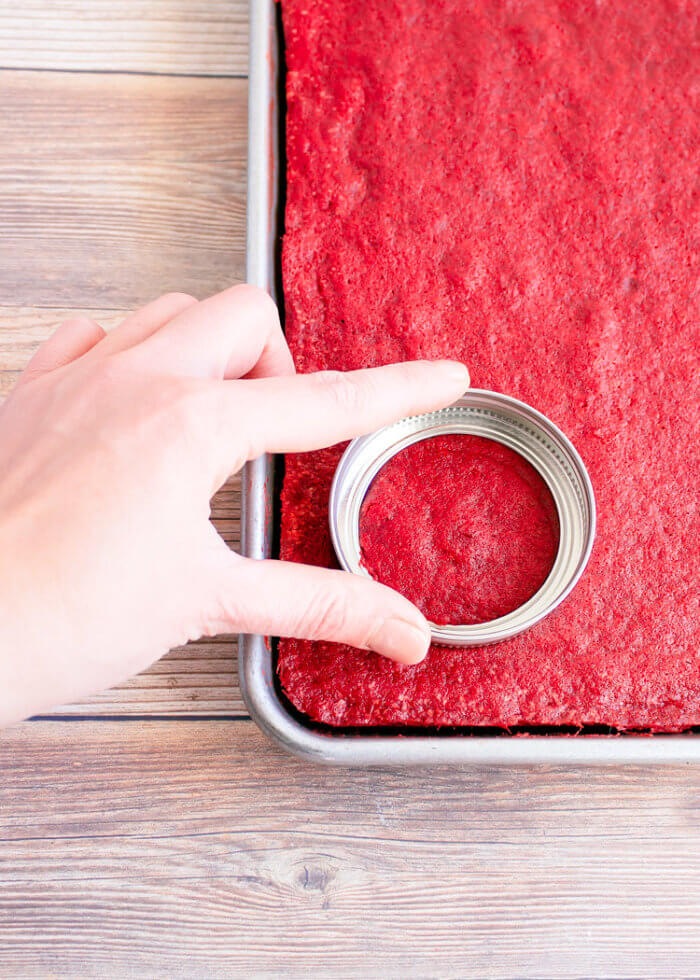
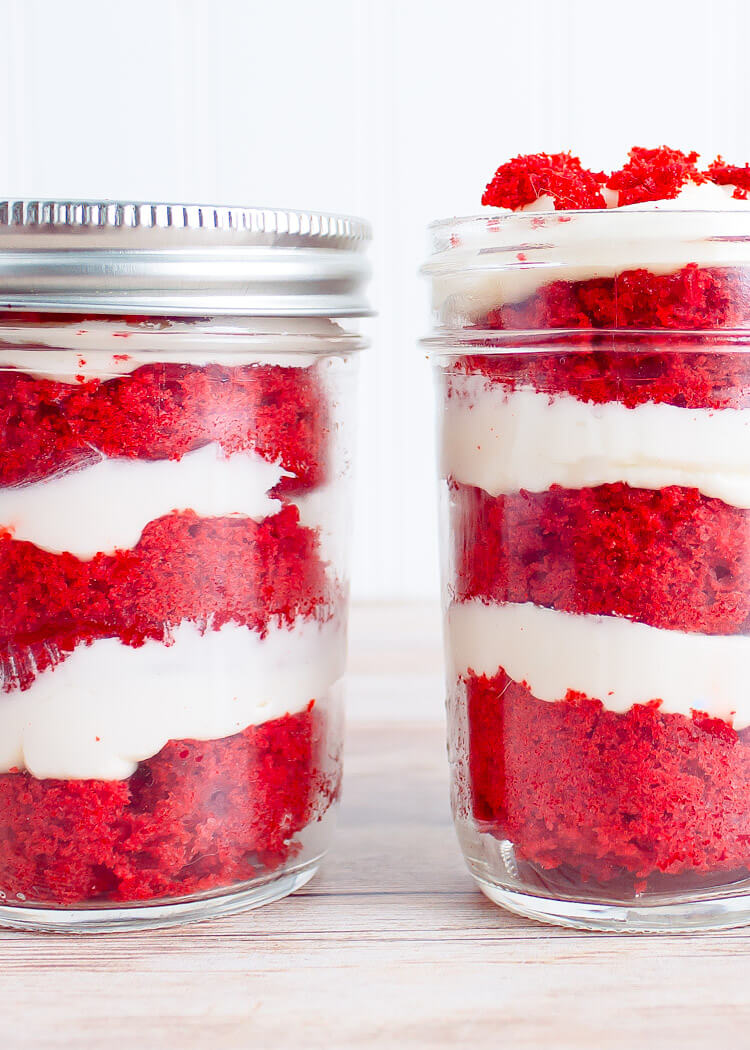
Flip the outer ring of the mason jar lid upside down, and press it into the cake to cut a circle. Gently remove the cake circle and place in a mason jar.
Pick up your pastry bag and pipe a layer of frosting on top of the first cake layer.
Repeat this process two more times (mason jar should be nearly full).
Optional: Using the leftover red velvet scraps, crumble and add a few pieces on top of the frosting.
Tie a ribbon around the neck of the jar and include a gift tag or label.
Note: These are best when consumed within two days. They can be left at room temperature for a couple hours, but beyond that, it is safest to refrigerate.
Aren’t these absolutely darling? The cutest last minute gift idea that’s as thoughtful as it is delicious! Thank you to Lexie for joining us again this month. If you missed her recipe last month, check out this yummy AND healthy side dish that she shared with us HERE. Also make sure to follow her on Instagram HERE.
I’m also linking up to a cookie blog hop, where a handful of other bloggers are sharing their favorite homemade Holiday treats! If you need some weekend baking inspiration, here are the links:
Cake and Confetti | Citrine Living | Dimples and Tangles | Effortless Style | Making Home Base | Pink Peppermint Design




 water was clear, crys

 #cutetex
I absolutely love this idea! So unique and so beautiful! Merry Christmas!
Ahhh! Why is everything cuter in a little mini jar? These are adorable and would make the best neighbor gifts!